

image-tools
Remove Background from Image
Remove backgrounds from one image or a batch of up to 10, inspect transparent edges against several backdrops, and download PNGs locally.
Loading tool…
ByToolsila Editorial TeamUpdated
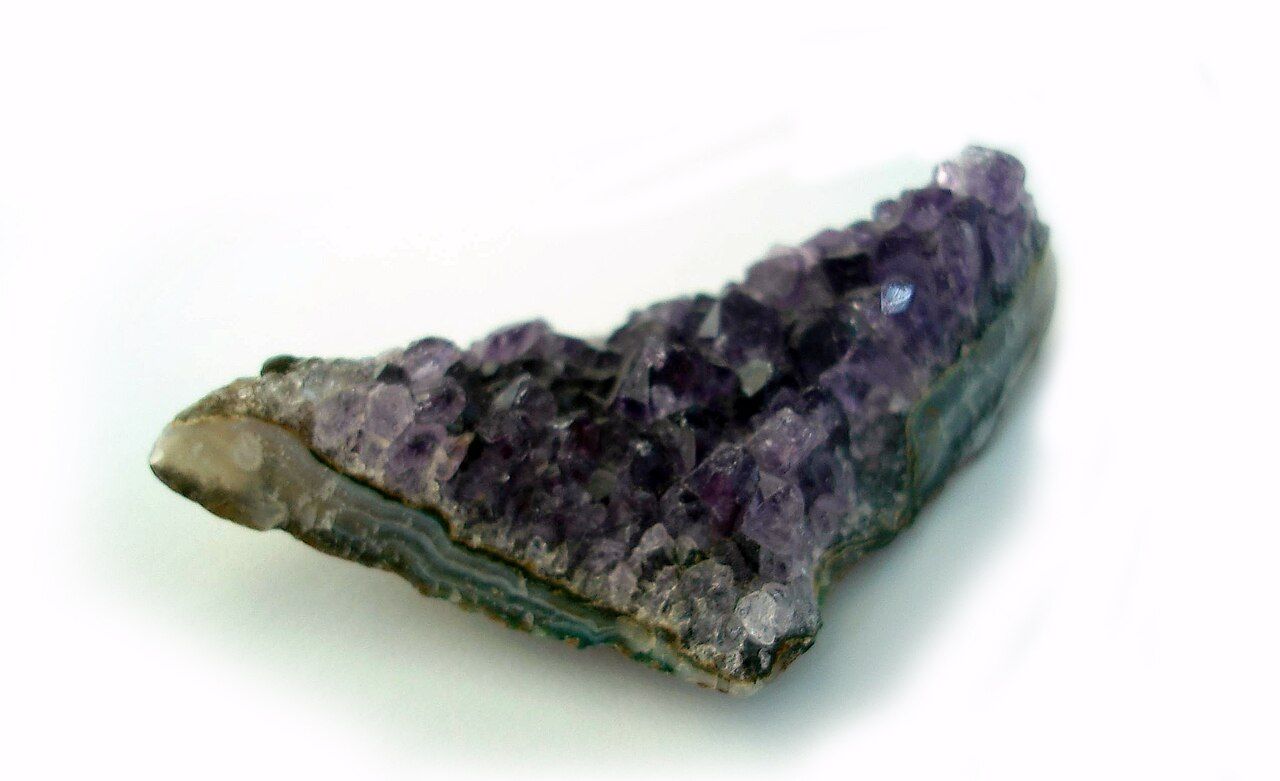
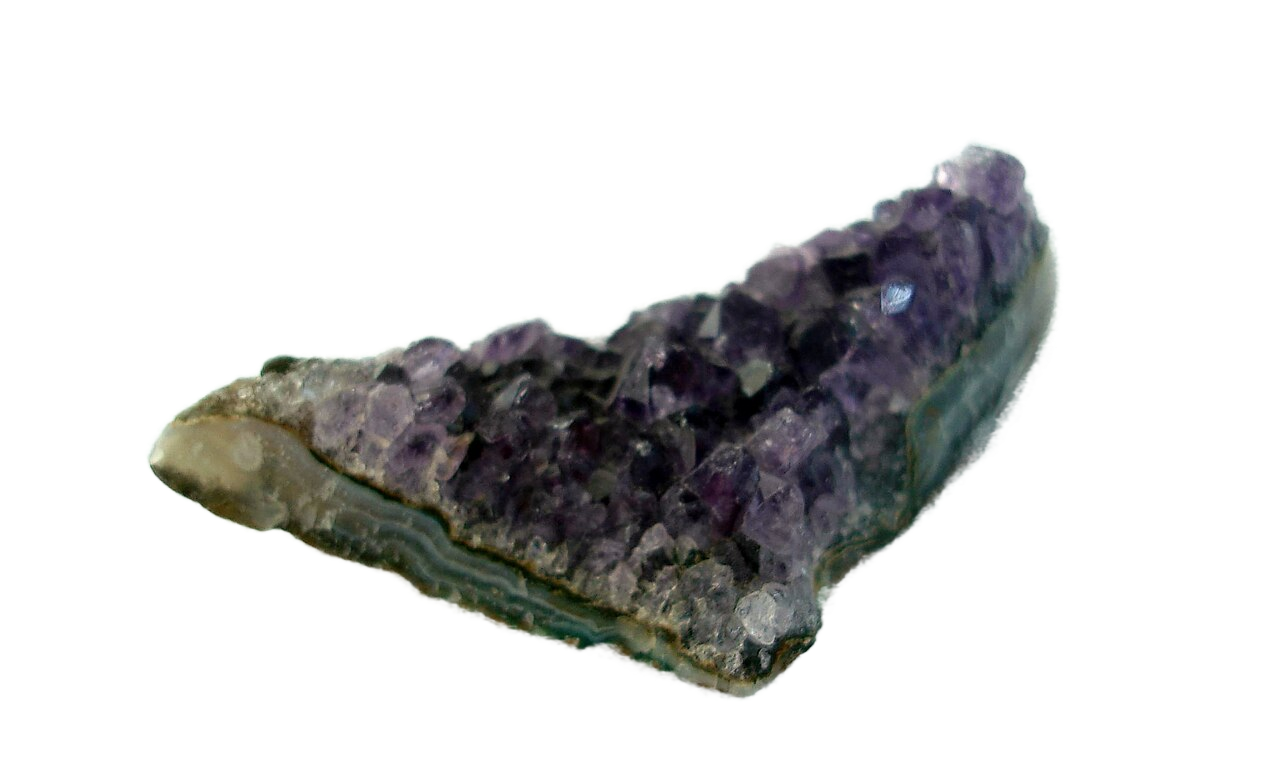
Before and after
Before
After
How it works
After you choose, drop, or paste up to 10 files, Toolsila validates each type, file size, and pixel dimensions before starting the model. The background-removal library then runs a segmentation model locally through browser technologies such as WebAssembly, processing accepted items sequentially. It identifies the likely foreground subject, estimates a mask, and combines it with the original pixels to create a transparent PNG. Images and locally built ZIP downloads are not posted to a Toolsila endpoint or application server. The model files do need to be downloaded by the browser the first time the tool runs. That network request retrieves the processing code and model, not your chosen photos. The model is loaded once and reused across the batch. Later runs may be quicker when the browser can reuse cached assets, but processing time still depends on the images, device, browser, and available memory. JPEG, PNG, and WebP inputs are supported in batches of up to 10. Each file must be no larger than 10 MB or 36 megapixels. An accepted image above 12 megapixels is downscaled proportionally before processing to keep local memory use manageable. Results are transparent PNGs. The local-processing indicator describes the current model or image stage without pretending that phase-level model progress is an overall percentage. After the batch finishes, the page reveals the preview area. You can switch between original and result, use synchronized custom zoom from 25% to 400%, move through successful batch results with Previous and Next, and inspect each cutout on checkerboard, light, dark, or custom-color backdrops.
Who it is for
Sellers preparing product images
Isolate a product before placing it on a consistent store background, marketplace template, or promotional card. A well-lit product with a clear outline usually gives the model useful separation cues. Inspect handles, gaps, reflective packaging, and contact shadows before publishing; those areas may need a finishing pass in an image editor.
Creators building quick compositions
Make a transparent subject for a thumbnail, presentation, social graphic, sticker draft, or mood board without first sending the source to an unfamiliar upload service. The PNG can be layered over a color, gradient, or another photograph in any editor that supports transparency.
People handling personal photos
Remove a room, street, or other distracting setting while keeping the selected file in the browser. Local processing reduces exposure to an application server, which is useful for ordinary private work. Your browser, device, extensions, operating system, and network environment still remain part of your security boundary.
How to use this tool
Choose suitable images. Select, drop, or paste up to 10 JPEG, PNG, or WebP images. Each can be up to 10 MB and 36 megapixels. Subjects that are in focus and visibly different from their backgrounds are the best starting points. The tool checks real dimensions after decoding rather than trusting only filenames.
Review any resize notice. Images above 12 megapixels are reduced proportionally before the model runs. This changes pixel dimensions, not the aspect ratio. The notice gives the processing dimensions so you can decide whether the convenient local result suits your use or whether a specialized high-resolution workflow would be better.
Let the browser process the subject. The first job starts the one-time model load and then segmentation. Keep the tab open while the visible processing indicator describes the current local stage. The widget prevents overlapping jobs and keeps Stop available. If you reset while work is underway, it safely ignores the old result instead of presenting it as the current image.
Inspect the preview at useful zoom. The preview area is revealed after the complete batch finishes. Enter an exact zoom from 25% to 400%, use the slider or zoom buttons, and look around hair, fur, whiskers, fingers, spokes, glass, fabric fringe, and any place where foreground and background share a similar color. The preview is evidence, not a promise of a perfect cutout. A faint halo or a missing fine detail may be acceptable for a small thumbnail but obvious in print.
Preview and download. Switch between the prepared source and transparent result at a synchronized zoom. Use Previous and Next to inspect successful batch items, and try checkerboard, light, dark, and custom-color backdrops to reveal edge halos. Download PNGs individually or package successful batch results in a local ZIP. Saved files use the original base name followed by
-no-background.png; duplicate names receive stable numeric suffixes.
Tips
Start with the largest clear source that stays within the limits, but avoid enlarging a small, blurred image beforehand. Upscaling invents pixels without restoring real edge detail. If the original exceeds 12 megapixels, let the tool make its controlled proportional downscale and check the displayed dimensions.
Favor even lighting and visible contrast. A dark jacket against a dark wall, translucent glass, motion blur, or a strongly colored reflection gives any automatic background remover less reliable evidence. If possible, retake the subject a short distance from a plain backdrop rather than trying to rescue a severely blended edge.
Judge fine edges on the destination background. A light fringe can disappear on white and become conspicuous on violet; the reverse can happen with a dark fringe. Test the downloaded PNG over the actual slide, product-card color, or design layer before calling the image finished.
Keep a copy of the untouched source. The tool makes a new PNG and does not alter the selected file, but a transparent cutout is not a replacement for the original photograph. The source is valuable if you later want a different crop, a refined mask, or a higher-resolution professional edit.
Treat complex scenes as candidates for manual refinement. Multiple touching people, loose hair, bicycle spokes, plants, netting, smoke, and transparent objects can confuse automatic segmentation. Toolsila is useful for a quick first mask; a layer-based editor with restore and erase brushes remains the right follow-up when every edge matters.
Frequently asked questions
Is this background remover online free to use?
Yes. The tool provides its background-removal workflow without an account or payment screen. It runs in a supported browser on your device. Your internet connection is still used to load the site and retrieve model assets on the first processing run. Selected images and locally built ZIP downloads are not uploaded to a Toolsila application server.
Does my image leave my device?
Toolsila does not send selected images to its server for processing. Browser code reads them locally and produces each result locally. That is narrower than claiming that no software on your device could ever observe a file: browser extensions, managed-device tools, operating-system services, and your own network configuration are outside this site’s control.
Which image formats and limits are supported?
You can choose up to 10 JPEG, PNG, or WebP images. Each must be 10 MB or smaller and no more than 36 megapixels. Above 12 megapixels, an accepted image is downscaled while preserving its proportions. Unsupported, oversized, corrupt, or undecodable items receive separate plain-language errors without stopping the rest of the batch.
Why is the download always a PNG?
PNG supports an alpha channel, which records fully transparent and partially transparent pixels around the subject. Standard JPEG does not. Saving every result as PNG preserves the removed area for later layering instead of silently filling it with a solid color. The filename ends in -no-background.png so it is easy to distinguish from the source.
Will it keep every hair, whisker, or transparent object?
Not always. Fine hair, fur, motion blur, glass, smoke, mesh, shadows, and low-contrast edges are difficult for automatic segmentation. The model may soften, omit, or retain pixels in those areas. Inspect at the size and background you will actually use, and refine the mask in a dedicated editor when an intricate edge must be exact.
Why can the first result take longer?
The browser must load the model assets after the first valid input, initialize the WebAssembly-based processing environment, decode the image, and run segmentation. Cached assets may reduce model-loading work later, but there is no fixed completion time: device performance, free memory, image complexity, browser behavior, and cache state all affect the experience.
Is a transparent background maker the same as deleting the original?
No. The widget reads your selected file and creates a separate object in browser memory for download. It does not edit or delete the original on disk. Reset clears the current preview and ignores stale work; the downloaded PNG remains wherever your browser saved it, and your source remains in its original location.
