
Toolsila guide
Transparent Background Images: A Complete Beginner’s Guide
Learn what transparent pixels are, why checkerboards appear, which formats preserve alpha, and how to avoid white boxes and rough edges.
ByToolsila Editorial TeamUpdated
What a transparent background really is
A transparent background is not a special color. It is pixel information that tells compatible software how much of the layer underneath should show through. Fully transparent pixels are invisible. Fully opaque pixels completely cover what is below. Values between those extremes create soft edges, shadows, glass, wisps of hair, and other partially transparent detail.
That transparency information is commonly called the alpha channel. Red, green, and blue describe color; alpha describes opacity. An image can therefore contain colored pixels whose alpha makes them partly or completely invisible. This detail matters when old background color remains hidden near an edge and later appears as a fringe.
Why editors show a checkerboard
White and transparent look identical on a white page, so editors need a neutral visual convention. The gray checkerboard is a preview that indicates an absent background. It is not usually embedded in the exported file.
To confirm that transparency is real, place the image over a bright color and then a dark color. If a white rectangle remains, the background is white rather than transparent. If you see the new colors through the empty area, alpha is working. If you see gray squares in another application, you may have downloaded a screenshot of a checkerboard rather than the original transparent asset.
Quick check: do not judge a cutout only against the editor’s checks. Test the file on the actual background colors it will use.
Reproducible evidence
The same alpha edge over three backgrounds
Checkerboard preview
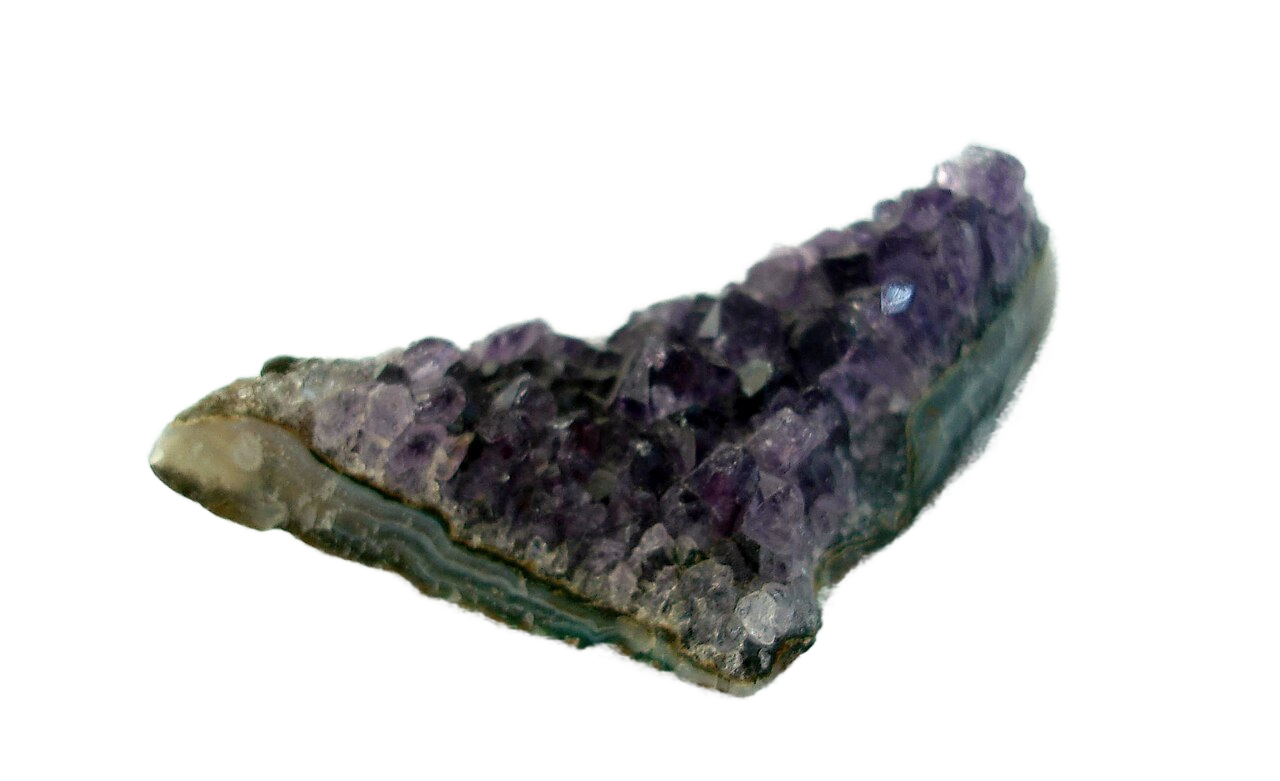
White background
Dark background
- Method
- Displayed one untouched remover output over checkerboard, #ffffff, and #172033 CSS backgrounds without re-encoding or changing its pixels.
- Settings or conditions
- 1280 × 781 transparent PNG; @imgly/background-removal 1.7.0 output; no visual post-processing.
- Observed result
- Transparency works in every panel, while the slight pale fringe and soft contact-shadow edge are easier to judge against the dark panel.
- Test or review date
- Output created August 17, 2026; background check reviewed September 2, 2026
- Limitations
- One object does not cover hair, fur, glass, smoke, or every alpha-compositing workflow. Display color and page scaling can also affect inspection.

Which formats preserve transparency?
PNG is the dependable general-purpose choice for a static transparent raster image. It supports full alpha values, so antialiased edges can remain smooth. WebP can also support alpha in both appropriate lossy and lossless workflows, but the destination must accept it. GIF supports only limited transparency and a restricted color palette, making it a poor master for detailed modern cutouts.
JPEG does not support alpha transparency. When a transparent image is converted to JPEG, software has to fill empty pixels with a solid color. White is common, but it is not guaranteed in every workflow. This is why renaming .png to .jpg cannot preserve transparency; a real format conversion changes the underlying representation.
The PNG, JPG, and WebP comparison covers the broader format decision. For a reusable cutout, keep PNG as the master even when you create smaller destination-specific copies later.
How transparent cutouts are created
There are two broad approaches. A person can draw or refine a mask in an editor, deciding precisely which regions are visible. Or a segmentation model can estimate foreground and background automatically. The automatic route is faster for a clear subject; the manual route provides control for ambiguous edges.
Toolsila’s background remover uses a browser-based model to create an initial transparent PNG from JPEG, PNG, or WebP. Compatible images are processed on the device rather than uploaded to a Toolsila application server. The first model load occurs after input, and large images can be proportionally downscaled before processing under the tool’s documented limits.
An automatic mask is a prediction, not a proof. It may include a shadow, remove part of a translucent object, or simplify hair. Treat the preview as a draft that must be checked.
Understand edge quality
A hard edge switches immediately from opaque to transparent. That can be correct for pixel art or a crisp geometric shape. Most photographed subjects need a soft transition across a few partially transparent pixels. Without that transition, diagonal and curved edges look jagged.
A halo occurs when edge pixels retain color from the removed background. Dark hair photographed against a bright wall may carry pale contamination. The cutout can look fine on white but glow when placed over navy. Conversely, a dark fringe appears when an asset prepared against black moves to a light page.
Hair and fur are difficult because the boundary contains many thin, overlapping structures. Glass, smoke, mesh, reflections, and motion blur are difficult because “foreground” is not fully opaque. A one-click tool may make a reasonable simplification, but a professional composite can require mask refinement and color decontamination in a layer editor.
A reliable export workflow
- Begin with the highest-quality original available, not a thumbnail or messaging-app copy.
- Create or generate the mask.
- Inspect the silhouette at normal size and at 100% zoom.
- Check holes such as mug handles, gaps between fingers, and spaces within furniture.
- Preview over light, dark, and destination-colored backgrounds.
- Save a transparent PNG master at the dimensions you may need later.
- Create flattened or compressed copies from that master for each destination.
Avoid repeatedly opening and saving a lossy delivery copy. Return to the master when a customer, marketplace, or design needs a different background.
Transparent does not always mean appropriate
An email client, document editor, print vendor, or marketplace may flatten transparency differently. Some product platforms specifically require a white background. Some social sites recompress uploads. Some older business software accepts PNG but displays transparent areas on an unexpected color.
Read the destination requirements before export. If white is required, place the cutout on a white layer deliberately and export a separate JPG or PNG. The free white-background product workflow explains how to keep the transparent master while producing that flattened copy.
For print, ask the printer about color space, resolution, clipping paths, and alpha support. A transparent web PNG is not automatically a complete print-production file.
Common problems and their causes
A white box appears. The file may be JPEG, the background was never removed, or the receiving application flattened transparency. Reopen the original PNG in a known alpha-aware editor and test over a colored layer.
The checkerboard is visible in the final image. You probably saved a screenshot or downloaded a preview image containing drawn checks. Obtain the actual PNG export.
Edges look crunchy. The source may be low resolution, the mask may use a hard threshold, or a lossy conversion may have damaged fine transitions. Return to a larger source and preserve alpha in the master.
There is a pale outline. Edge colors may have been blended with the previous background. Test another source with stronger separation or refine and decontaminate the edge in a mask-capable editor.
The file is unexpectedly large. A detailed, high-resolution PNG can be large because lossless encoding retains the pixel result. Use destination-sized variants and consider a supported alpha-capable web format rather than destroying the only master.
Build a small asset system
Store the original photograph, the transparent master, and delivery files separately. Give them names that identify their role, such as product-original.jpg, product-cutout.png, and product-white-1200.jpg. This prevents a flattened copy from replacing the reusable source.
Transparency is straightforward once you separate three ideas: the checkerboard is a preview, alpha is actual opacity data, and format support determines whether that data survives export. Preserve the master, test the edge on real backgrounds, and flatten only when the destination requires it.
Sources and review notes
Editorial update: September 2, 2026. PNG alpha and compositing behavior are summarized from the W3C PNG specification; WebP alpha support from Google’s WebP documentation. The update adds the same untouched transparent output over three backgrounds with its method, conditions, observed edge behavior, and limitations.
Review before you export
- Place the transparent file over light, dark, and intended backgrounds before flattening it.
- Save a PNG master, then verify the destination’s current alpha and color requirements.