
Toolsila guide
How to Make a Product Photo Background White (Free Method)
Turn a clear product snapshot into a clean white-background image with a browser-local cutout, deliberate placement, and a careful final check.
ByToolsila Editorial TeamUpdated
The free workflow at a glance
A white-background product photo has two distinct stages: isolate the product, then place that cutout over intentional white. Simply increasing exposure rarely works because it also washes out the product and leaves uneven shadows or room details. A clean cutout gives you control over the final background.
You can create the first stage with Toolsila’s browser-based background remover, download a transparent PNG, and place it on a white canvas in any editor that supports layers. The image processes locally in a compatible browser rather than uploading to a Toolsila application server. The result still needs human inspection, especially around packaging, reflective surfaces, and contact shadows.
Important distinction: transparency reveals whatever is below; white is a real background color. Keep the transparent version as your reusable master, then export a separate white-background copy.
Reproducible evidence
Source, transparent cutout, and white composite preview
1 · Source JPEG
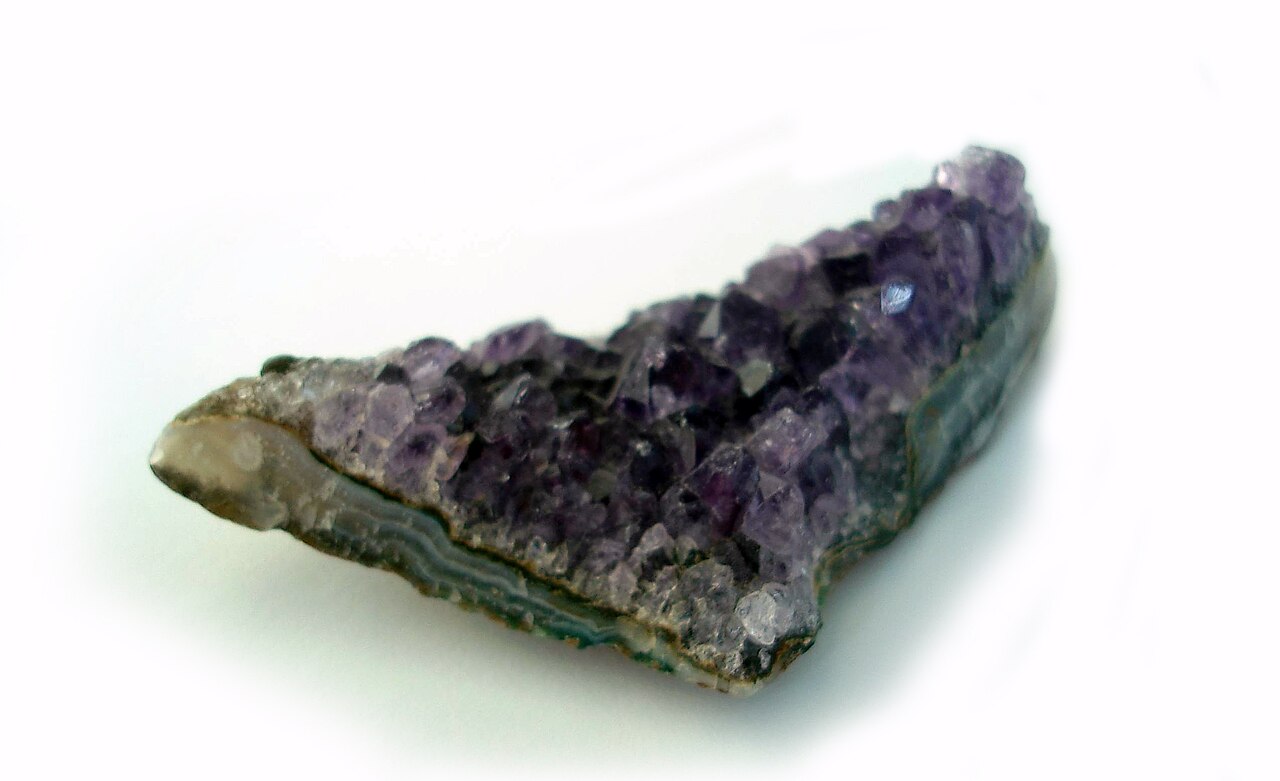
2 · Transparent PNG master
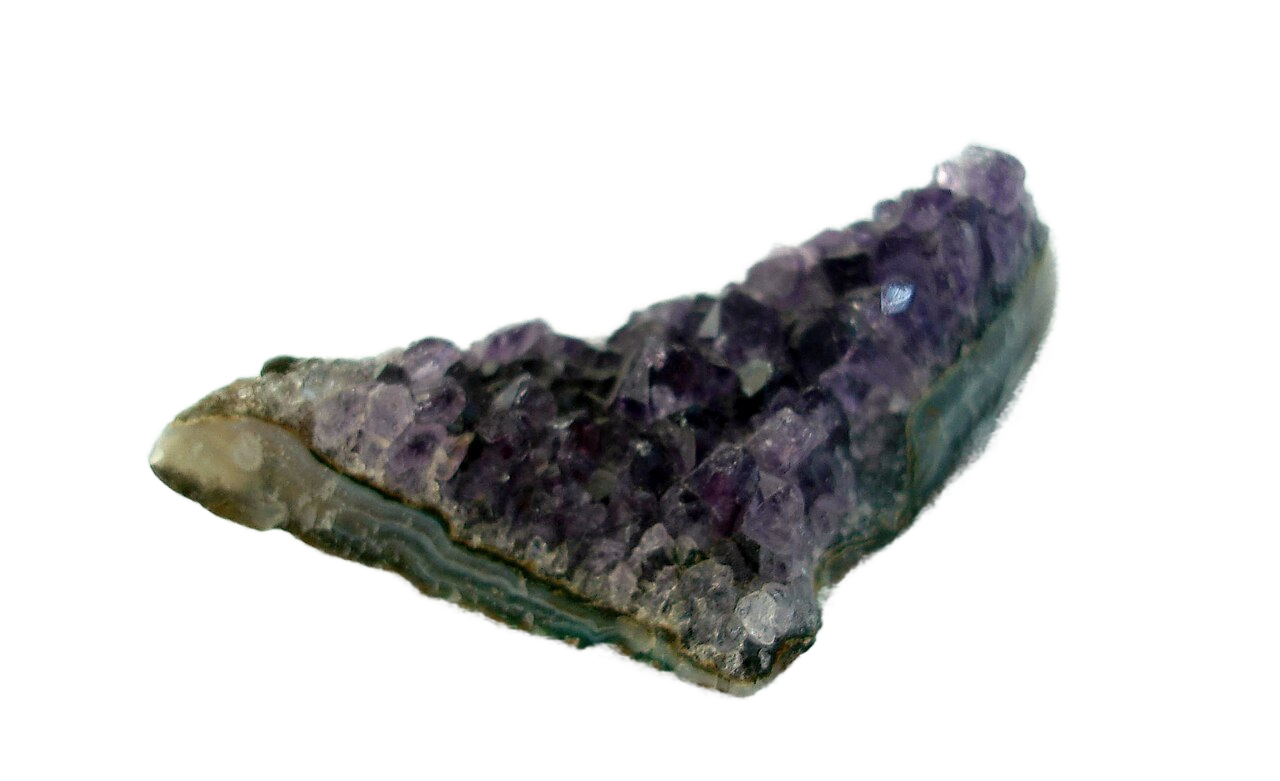
3 · Same cutout over #ffffff
- Method
- Ran the attributed source through the published remover once, then rendered the downloaded PNG over checkerboard and pure-white CSS backgrounds.
- Settings or conditions
- @imgly/background-removal 1.7.0; 1280 × 781 source; no post-processing; white preview background #ffffff.
- Observed result
- The transparent master can be placed on white without rerunning removal. The slight pale fringe remains visible evidence to inspect before exporting a flattened file.
- Test or review date
- August 17, 2026; presentation reviewed September 2, 2026
- Limitations
- The white panel is a live compositing preview, not a marketplace-ready exported JPEG. It does not test a specific marketplace’s crop, color, or retouching rules.

Photograph for an easier cutout
The final result begins before editing. Clean the product and camera lens. Use a simple backdrop that contrasts with the object; it does not have to be pure white if white packaging would disappear into it. A pale product can be easier to isolate against gray, blue, or another contrasting neutral.
Use broad, diffused light from a window or soft source. Hard point lights create sharp shadows and bright reflections that can confuse an automatic mask. Position a white card opposite the main light to fill dark areas. Turn off mixed room lighting if it creates competing color casts.
Stabilize the phone or camera and use the highest-quality original. Leave space around the product so handles, corners, and shadows are not cut by the frame. Shoot straight enough to avoid accidental perspective distortion. Take several frames with small changes in angle and spacing; selecting the easiest source is faster than repairing a poor boundary.
Avoid portrait-mode blur around the outline. Computational blur can erase fine edges or create artificial halos, making separation harder. A naturally sharp subject against a simpler background is the stronger source.
Remove the existing background
- Open the remover and choose the original JPEG, PNG, or WebP.
- Let validation finish. Files above 10 MB or 36 megapixels are rejected; images above 12 megapixels are proportionally reduced for processing, with an on-screen notice.
- Wait for the model to load and produce the cutout. The first job may take longer because model assets load after input.
- Review the checkerboard preview. Inspect every outer edge plus spaces inside handles, stands, cables, or furniture legs.
- Download the transparent PNG and preserve it separately.
The full background removal guide explains source selection and difficult edges. If the result removes an essential piece or retains a large background region, try another source before attempting detailed repair.
Inspect product-specific problem areas
Packaging creates demanding edges. Readable type and fine rules can become soft if the source is small. Glossy bottles reflect the old environment, so removing the geometric background does not remove the room reflected in the product. Transparent glass may partly disappear because its appearance depends on what was behind it.
Check pale objects over both gray and black before placing them on white. A missing pale edge may be invisible on the final canvas while still making the silhouette look unnaturally narrow. Check dark products on white for a gray or bright halo. Zoom in for diagnosis, then return to the expected listing size to decide whether the issue is meaningful.
Decide how to treat the contact shadow. A natural soft shadow helps an object feel grounded, but the automatic remover may keep only part of it or classify it as background. A ragged shadow is worse than no shadow. Remove it cleanly, or rebuild a subtle shadow in a layer editor without inventing misleading product shape or scale.
Place the cutout on white
Create a new canvas at the dimensions or aspect ratio required by the destination. Fill the bottom layer with standard white, commonly represented for screen work as RGB 255, 255, 255 or #ffffff. Place the transparent PNG above it.
Scale from a corner while preserving aspect ratio. Do not stretch width and height independently. Centering is a safe starting point, but follow the marketplace’s framing rules. Keep consistent margins across a product set and align similar objects to a common baseline. Consistency often looks more professional than making every item fill the frame to a different degree.
If the item is too small, return to the larger transparent master rather than enlarging a tiny export. If it is too large, scale it down non-destructively. Leave enough breathing room for responsive crops and badges that a marketplace may overlay.
Make white look intentional
A white background exposes color problems in the subject. Use white balance or a neutral reference to correct a strong yellow, blue, or green cast, but do not change the product’s actual color. Increase exposure carefully if the item is dull; watch highlights so white packaging retains edges and embossed detail.
Do not erase authentic features, alter labels, or reshape the product. Cleaning dust visible only because of the shoot can be reasonable; modifying color or geometry can misrepresent what a buyer receives. Retouching policy varies by marketplace and product category, so read current requirements.
For a set, apply similar contrast and white balance rather than blindly copying one adjustment. Reflective metal and matte fabric respond differently. Compare the series together at thumbnail size to catch changes in scale, crop, and white tone.
Export the right copy
Export JPEG when the destination asks for it and no transparency is needed. A white-background photograph is well suited to a sensible JPEG setting. Use PNG when crisp graphic detail or a specific workflow requires it, understanding that a detailed photo can be larger. Confirm the required color profile, dimensions, file-size cap, and filename rules.
If the exported file exceeds a limit, use the Toolsila image compressor to compare an adjustable-quality delivery copy. It does not resize pixel dimensions. If the source dimensions far exceed the listing requirement, resize in a separate trusted step before or alongside an appropriate compression workflow. Never promise that aggressive lossy reduction has no quality cost.
Open the final exported file—not merely the editor canvas. Confirm that the background is white, the crop is correct, small type remains legible, and the product has no fringe. View it on another screen when color is important.
Keep three files
Preserve the original photograph, the transparent PNG master, and the final white-background delivery file. Names such as item-original.jpg, item-cutout.png, and item-white-1600.jpg make their roles obvious. The transparent-background beginner’s guide explains why the middle file is valuable even when today’s destination requires white.
This workflow stays free because the demanding part is careful preparation and inspection, not a subscription. Strong light, a contrasting source, a clean mask, consistent placement, and a verified export matter more than a one-click promise.
Sources and review notes
Editorial update: September 2, 2026. The transparency and alpha details behind the PNG master are summarized from the W3C PNG specification. The update adds a visible CC0 source-to-cutout-to-white demonstration and distinguishes the live white composite from an exported marketplace file. Source preparation and edge checks remain practical workflow guidance, not marketplace requirements.
Review before you publish
- Confirm the finished export, not just the editor canvas, has a white background and legible product detail.
- Check the destination’s current crop, file-size, and retouching rules before upload.